Shopify: Create and sync new products
Create and sync new Shopify products
In this “how to” you will learn to create and sync new products through Live Ink's product creator
Once integrated with our fulfilment app you will need synchronise your products.
The process differs depending on whether or not you already have existing products listed in your Shopify store, but both methods are covered.
Synchronise your products
To sync products: log in to your Shopify store > head to your dashboard > Scroll down > In the lefthand menu click on the Apps button > find and click the Live Ink app on the list of installed apps.
When prompted sign into your Live Ink account.
Important: your Shopify store account login and Live Ink account login details are not linked. For increased security they should be different.
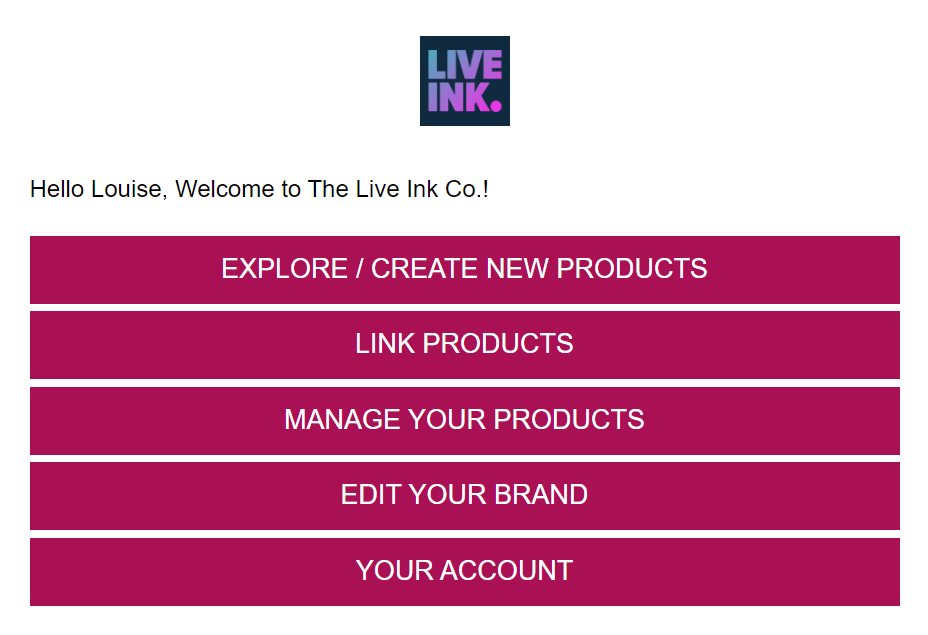
Once logged in you will see the Live Ink app dashboard. You can choose either to 1. Explore/Create New Products 2. Link Products 3. Manage your Products

We will start by explaining the process for syncing through creating new products. If your store has existing products, you can skip ahead to the Linking Existing Products article.
Note: If you intend to use printed neck labels with your garments, it's best to set these up before creating any products. To do this, head to your Brand page or click the 'Edit your brand profile' link at the top right of the app welcome page.
Creating new products
To Create a new product: click Create Products button to load Live Ink's product catalogue for you to select the base product to use.
If you are new to Live Ink, the Suggested Products category could be the best place to start to help you decide which products to use. Click this, then select a product. In this example, we have chosen the Stanley Stella Creator.
Uploading your design
Once you select a product, it’s details page will be loaded with all the options needed to create a product.

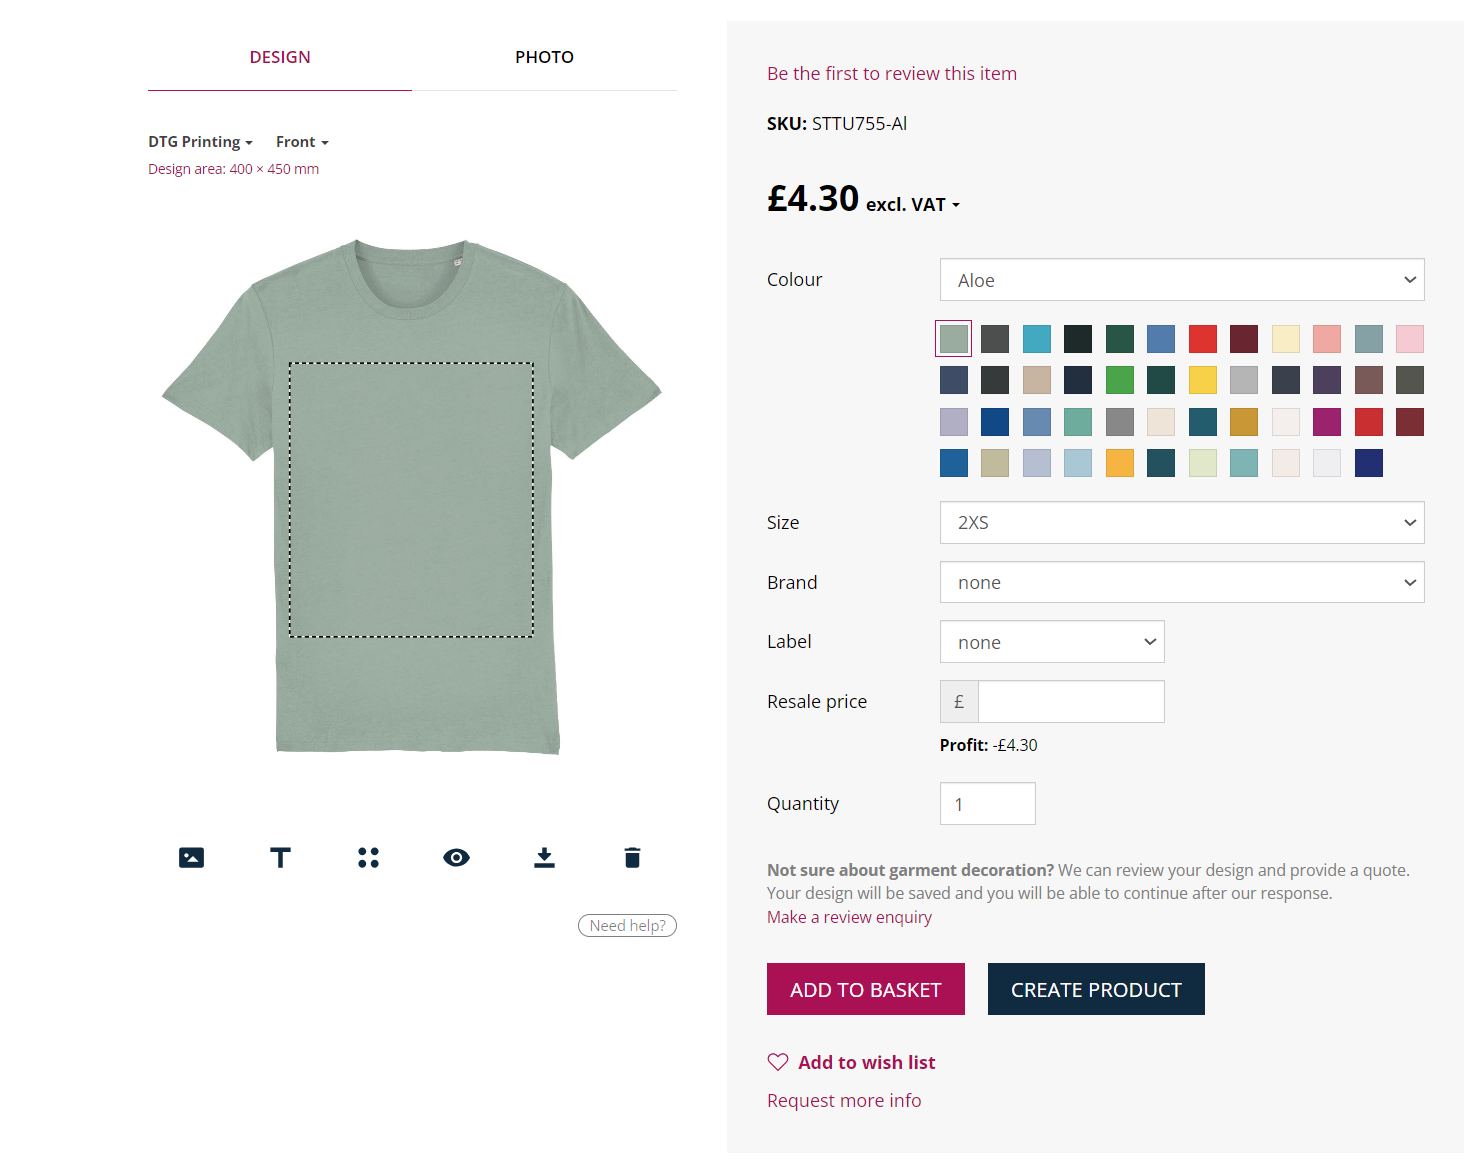
On the left-hand side, beneath the blank garment are six icons. These icons will help you create your product.
To get started: choose the upload icon (first icon on the left) > Click and navigate to your image print file you’ve prepared earlier.
Once uploaded, drag, drop, resize, or delete the image from the control panel that appears below the mock-up. When it’s positioned on the garment, click the Create Product button. > wait until the page reloads.
Note: colour or size option will be select later.
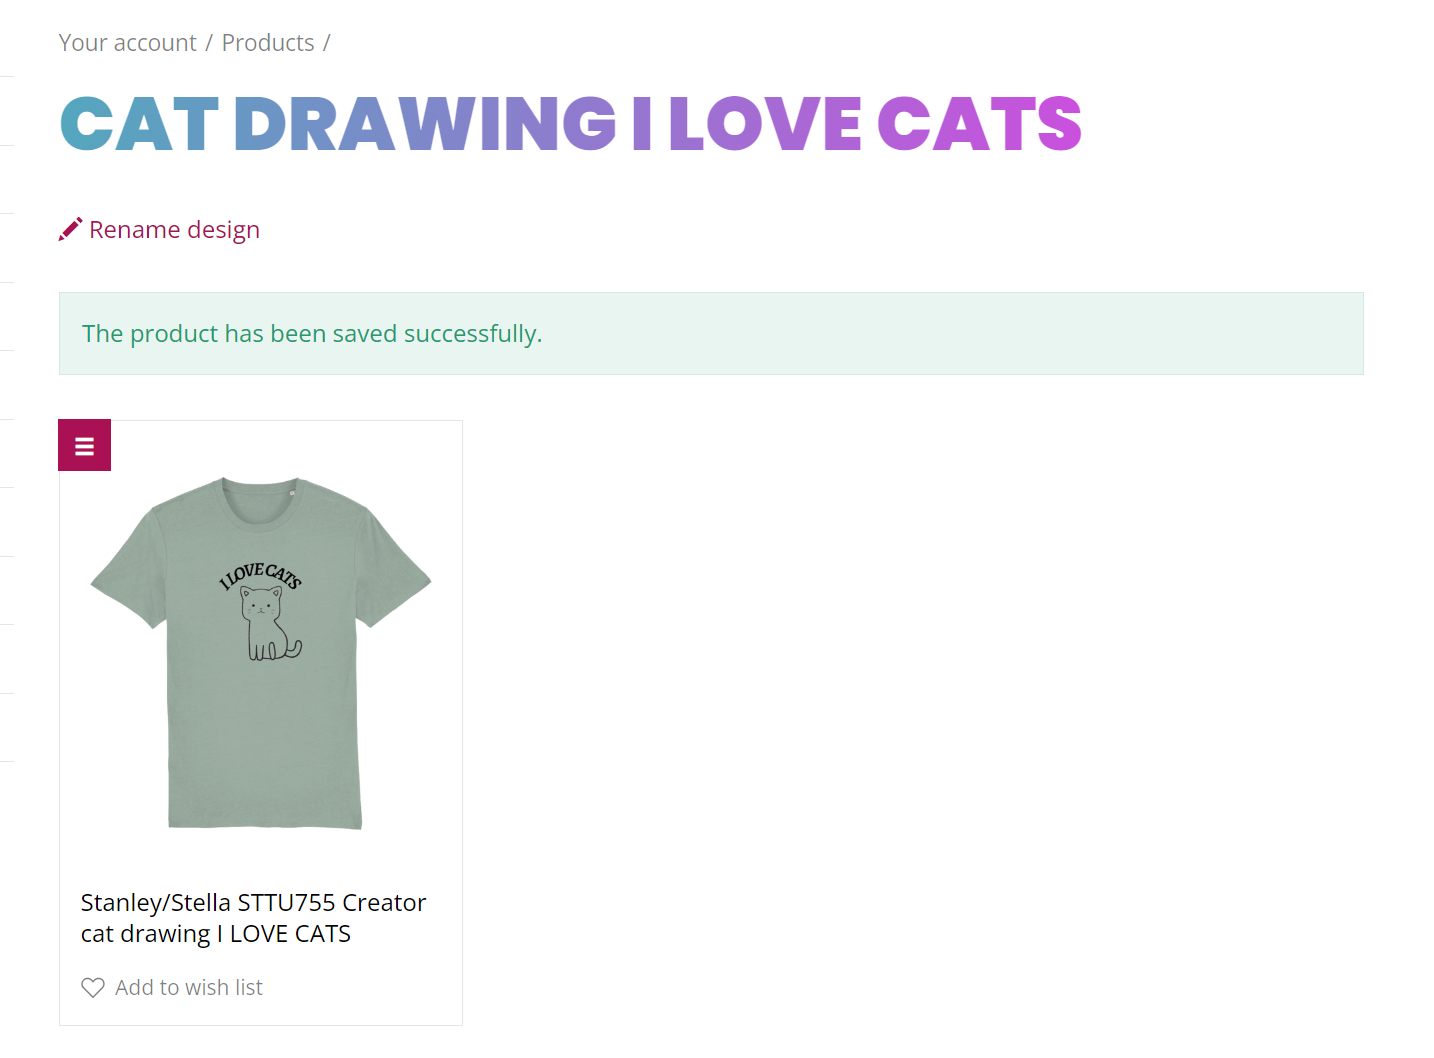
Congratulations, your product is saved to your Live Ink account.
Alter Product Name
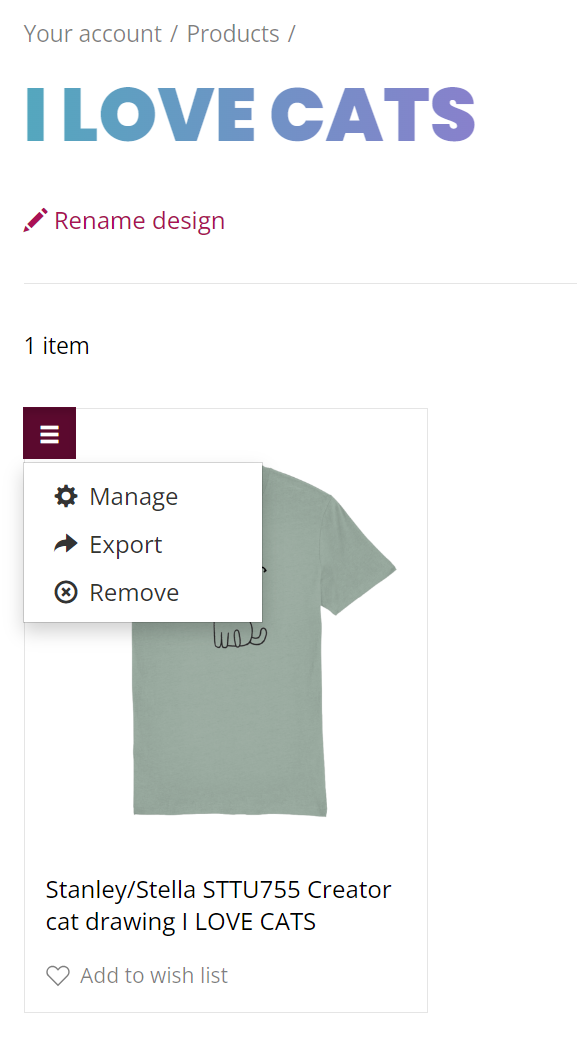
To export items your Shopify store: click the export icon (with the arrow pointing to the right).
To edit your product information: before the product is exported to Shopify.

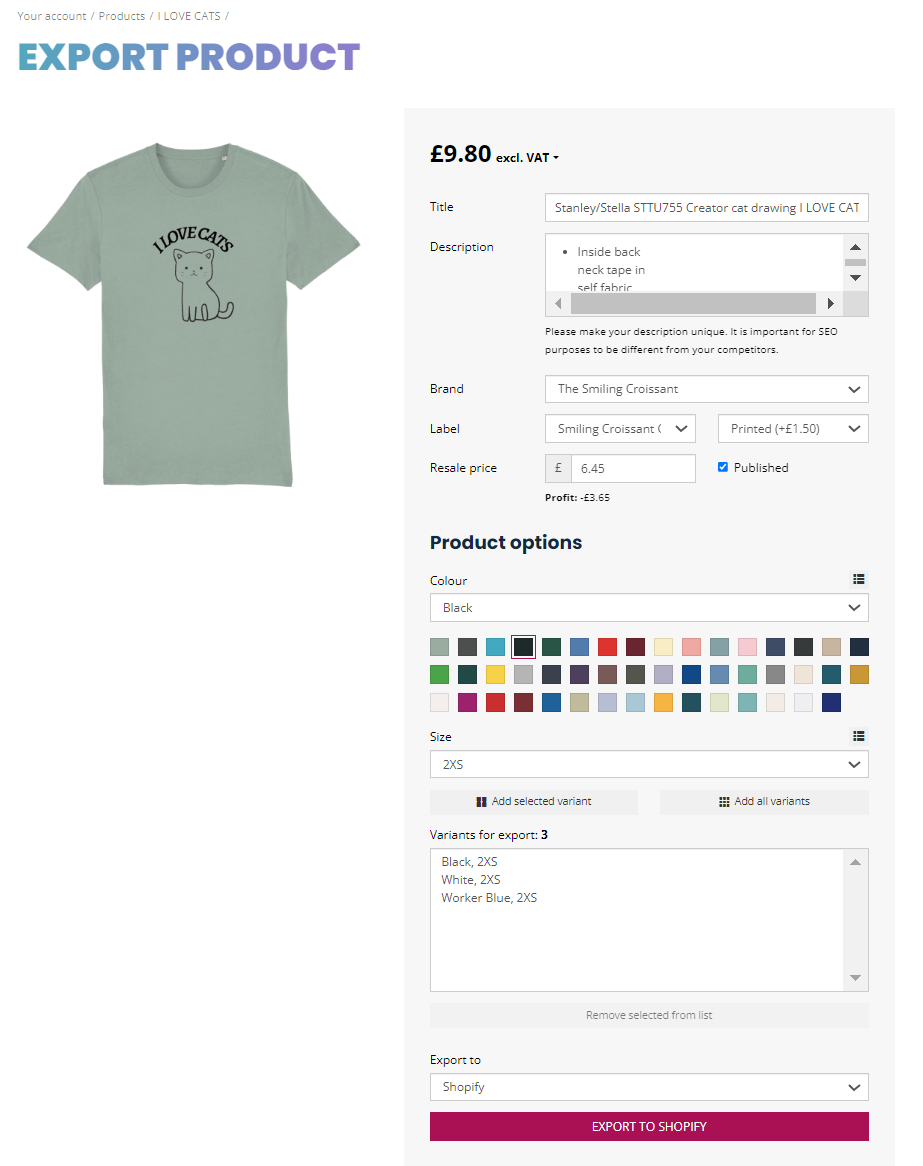
Title: This is what your customer sees when browsing your store. By default, it's a combination of the product you are using and the design title you have added. You can change it to something catchier.
Description: This is the description your customers see when browsing your product page. By default, this field is populated with basic product information — material, weight, etc. It’s a good idea to keep this information as it's useful for your customers, but it's also possible to add further information about your design. Think like a customer — what would you like to see here.
Brand: You are not limited to a single brand. Use this field to select the brand you would like assigned to this product.
Label: Select the brand label to print in the neck of the garment. This option isn't always available, as it depends which product you are creating.
Resale price: This is the price you want to list this product at in your Shopify store.
Published: Use this checkbox to toggle whether you would like this product to be published as soon as it's imported to your Shopify store.
Product Options: Here is where you create your product variants in Shopify. You can add one, multiple or all colours and sizes, and other variants, depending on the product you are creating. All variations you add will appear in the Variations for Export box. Trial various possibilities until you are happy with all the options.
To Export to Shopify: Once you are happy with your product details and variants, click the Export to Shopify button. When the import has been completed, the button will change to View on Shopify. Click to see your Shopify product page, or you can start the product creation process again to add to your store's product catalogue!